kb1: a fully DIY mechanical keyboard

Recently I’ve been learning more about electronics and PCB design, something I had no experience with up until recently. I wanted to challenge myself so I picked a relatively hard goal. This keyboard is the result of that. I call it kb1.
Specs
In short, it
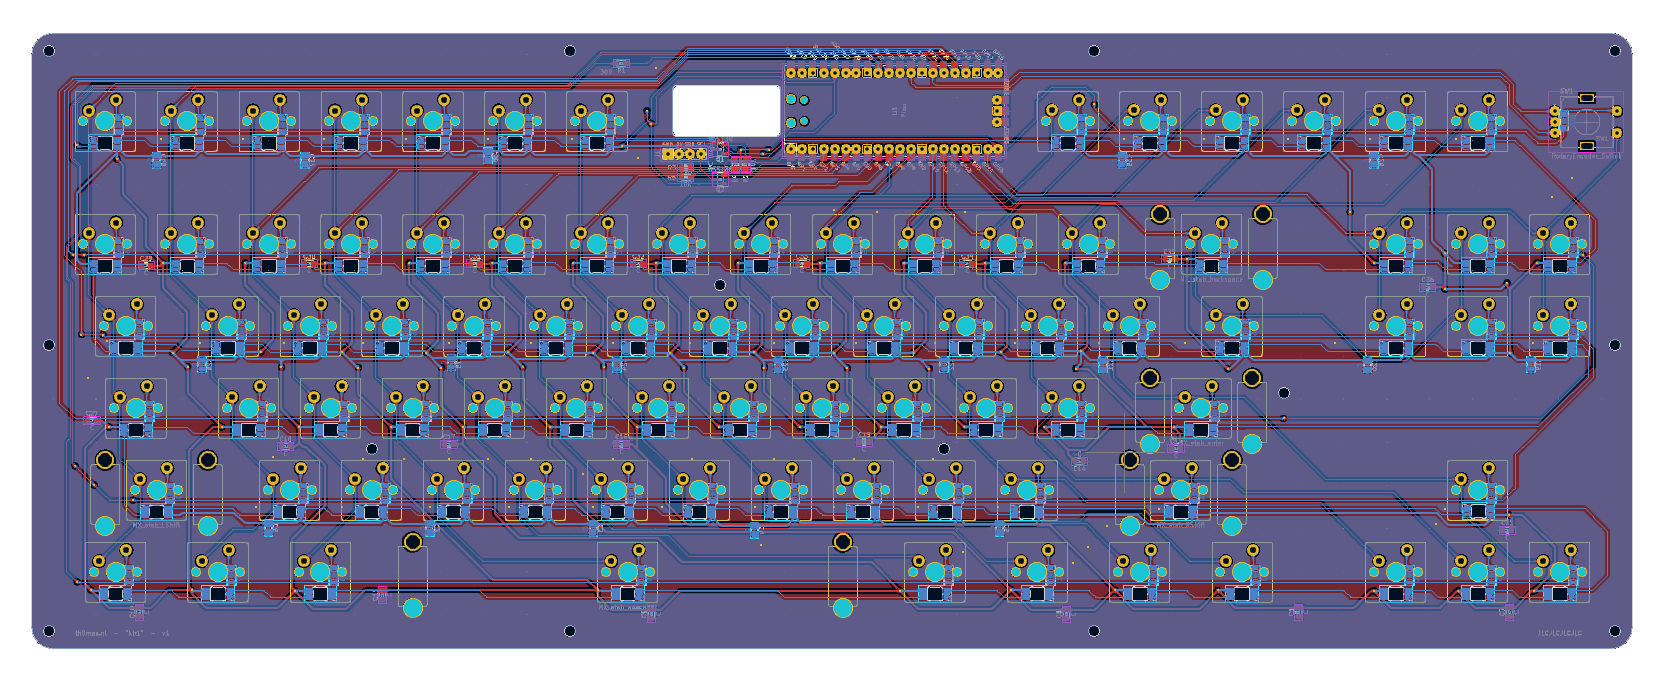
- is mechanically built using two PCBs with standoffs in between;
- has a proper “tenkeyless” layout, compatible with Cherry MX-style switches (my version has Kailh box crystal jades);
- has per-key RGB backlight using reverse-mounted SK6812 neopixels;
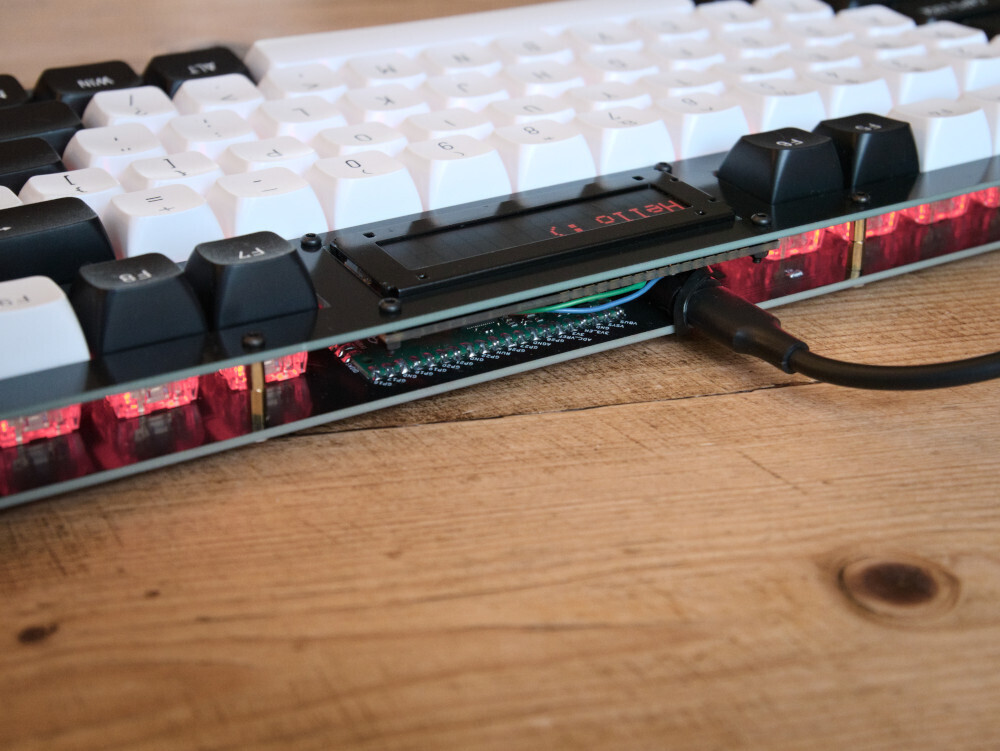
- features an old-school 16x2 character LED display, located between F6 and F7;
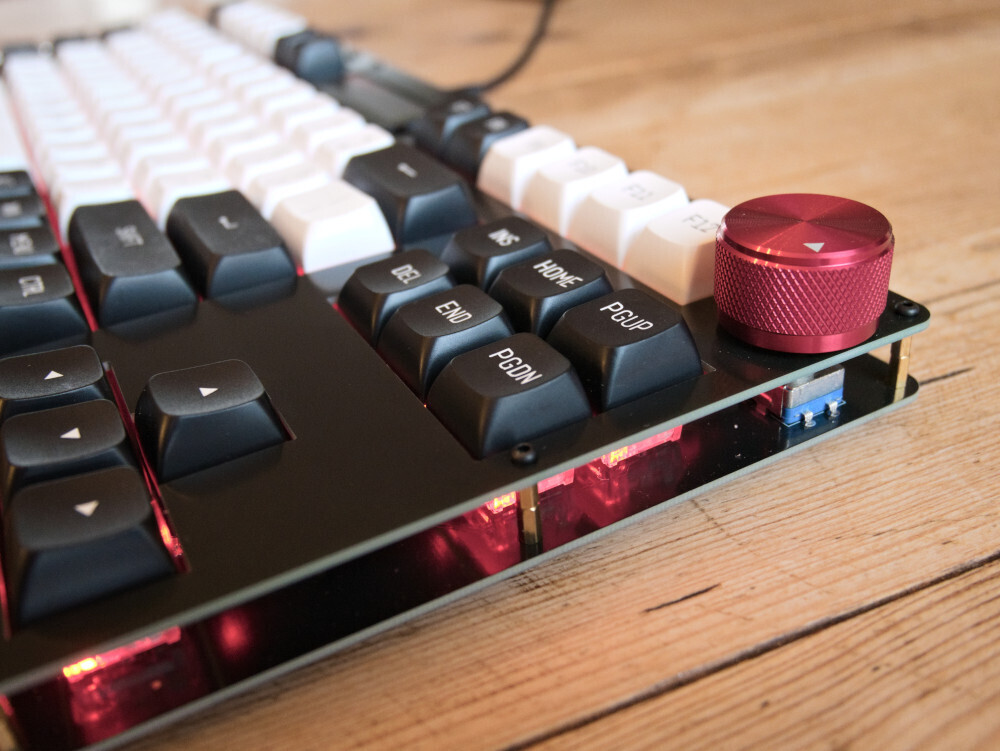
- has an obligatory knob (rotary encoder);
- makes use of a Raspberry Pi Pico and KMK
See the Github project for the firmware and PCB design files.
Details
Building a relatively standard keyboard like this with a microcontroller daughterboard is definitely a nice beginner/intermediate PCB design project, especially if you’re afraid of analog electronics like me. It’s basically a matter of routing a bunch of switches and diodes to GPIO pins. The spacial aspect of it is way more finnicky than the schematic.
Luckily there’s a big community of people building DIY mechanical keyboards. I found the following tools quite useful:
- marbastlib: footprints for MX-style switches, stabilizers and more
- kicad-kbplacer: takes a KLE (an online keyboard layout editor) file and uses it to position switches in Kicad
LEDs
Putting an addressible LED under every key is probably overkill, but why not! The SK6812 neopixels are pretty fun, you basically solder them upside down on the bottom-side of the PCB, where they shine through a hole in the PCB. That way, they don’t get in the way of the key on the top side.
The current firmware has some logic where the overall backlight color can be changed by twisting the knob, while the last-pressed key lights up in a different color.
Screen
I was inspired by a Logitech keyboard I used to have (pic by user Alphaton on Wikimedia):

Nowadays it seems to be in fashion again to add displays to keyboards. Maybe to show things like currently-playing media, but really just because it looks cool.
I quite like the old-school vibe of 16x2 LCD displays, but to fit with the brighter neon vibe of the backlights I went with a red LED-based variant. Any 16x2 display should work though. Do make sure to measure your specific display as I found that different brands can have slightly different dimensions and hole-spacings.
Fun
My main goal with this project has been to learn and have fun. I’m sharing this partly in case any of the design files might be useful, but primarily to motivate you to start from scratch as well. It may seem daunting but just try it out, it’s surprisingly accessible with the tools listed above :)
Pics
 |
 |
 |
 |
 |
 |